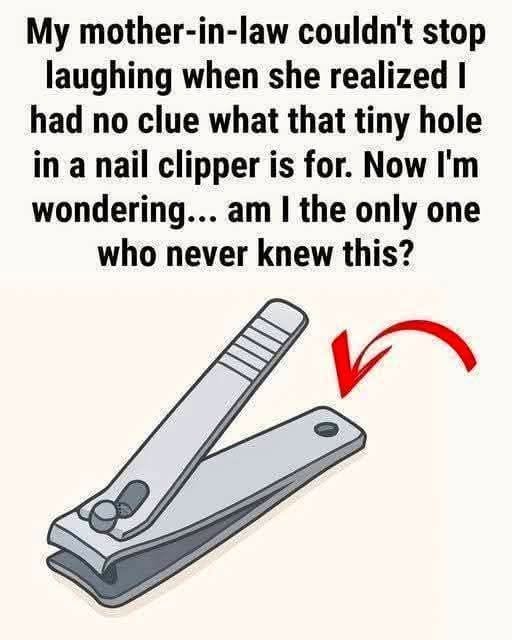
Have you ever picked up your nail clipper, noticed that tiny round hole at the end, and thought… what is that even for? You’re definitely not alone. It’s one of those everyday design details most of us overlook—but it actually has a few surprisingly practical uses.
I’ll admit, I’ve been cutting my nails for decades, and I never once questioned that little hole. I assumed it was for hanging the clipper on a hook (which, to be fair, is one of its uses). Or maybe it was just a manufacturing quirk—a relic of how the tool was made.
Then I mentioned it to a friend, and he said, “Oh, that’s for fixing bent nail clippers. You put the nail of another clipper in the hole to bend the blade back.”
Wait, what?
I went down a rabbit hole. I asked a tool designer. I read old patents. I tested the theories myself. And what I discovered surprised me. That tiny hole isn’t just one thing—it’s several things. And once you know what it’s for, you’ll never look at your nail clipper the same way again.
Let’s take a closer look at this tiny feature and why it’s there in the first place.
First, a Quick Look at the Nail Clipper Design
Standard nail clippers are simple tools, but they’re cleverly designed for both function and convenience. That little round hole isn’t just decorative—it serves multiple purposes depending on how you use your clipper.
The typical nail clipper has:
-
Two sharp, curved blades that meet to cut the nail
-
A lever (the top part you press) that amplifies force
-
A pivot pin that holds the blades together
-
A small round hole at the far end of the bottom blade
That hole is the subject of our curiosity.
The 5 Surprising Uses for That Tiny Hole
Let me walk you through the most common (and useful) purposes.
1. To Fix Bent or Misaligned Blades
This is the most practical use—and the one few people know about.
The problem: Over time, or after dropping your clipper, the two blades can become misaligned. One blade may sit slightly higher than the other. This makes cutting uneven, leaves jagged edges, or causes the clipper to “miss” the nail entirely.
The solution: Insert the tip of another nail clipper (or a small screwdriver, paperclip, or pin) into the hole. Gently bend the misaligned blade back into place.
ADVERTISEMENT
Why it works: The hole provides a secure point of leverage. Without it, you’d be trying to bend the blade with your fingers—which is difficult and imprecise.
Pro tip: Go slowly. Small adjustments are better than large ones. Test the clipper on a piece of cardboard or a fake nail before using it on your actual nails.
2. To Hang the Clipper for Storage
This is the most obvious use.
The purpose: The hole allows you to hang the nail clipper on a small hook, pegboard, or key rack. This keeps it off the counter, prevents it from getting lost in a drawer, and allows it to air dry after cleaning.
Why it matters: Nail clippers can harbor bacteria and fungi (especially if you’ve ever cut a toenail with a fungal infection). Hanging them allows air circulation, which reduces moisture and bacterial growth.
Pro tip: Clean your clipper with rubbing alcohol after each use. Hang to dry.
3. To Clean or Unclog the Blades
Nail clippings get stuck. It’s inevitable.
The problem: Small nail pieces can lodge between the blades or around the pivot pin. Over time, this buildup can make the clipper harder to press, less precise, or even unsanitary.
The solution: Use the hole as a grip point while cleaning. Insert a toothpick, paperclip, or small brush into the hole to stabilize the clipper while you scrape out debris with another tool.
Alternative use: Some people thread a small piece of string or dental floss through the hole and use it to “saw” between the blades to remove stubborn clippings.
4. To Attach a Keychain or Lanyard
This is the “portability” use.
The purpose: Thread a small key ring, split ring, or lanyard through the hole. Attach the clipper to your keychain, travel kit, or toiletry bag.
Why it’s useful: Nail clippers are small and easy to lose. Attaching them to something larger (or something you already carry) ensures you always have them when you need them.
Pro tip: Use a small split ring (like the kind on keys). Don’t use a large ring that will flop around and get in the way.
5. To Identify the “Bottom” Blade (Assembly/Direction)
This is a less common but interesting use.
The purpose: In some nail clipper designs, the hole helps you identify which blade is which during assembly or cleaning. The bottom blade (the one with the hole) is the stationary blade. The top blade (attached to the lever) is the moving blade.
Why it matters: If you take your clipper apart for deep cleaning, the hole helps you reassemble it correctly.
Bonus: What About the “Second Hole” on Some Clippers?